


Precision Starts With The Lace
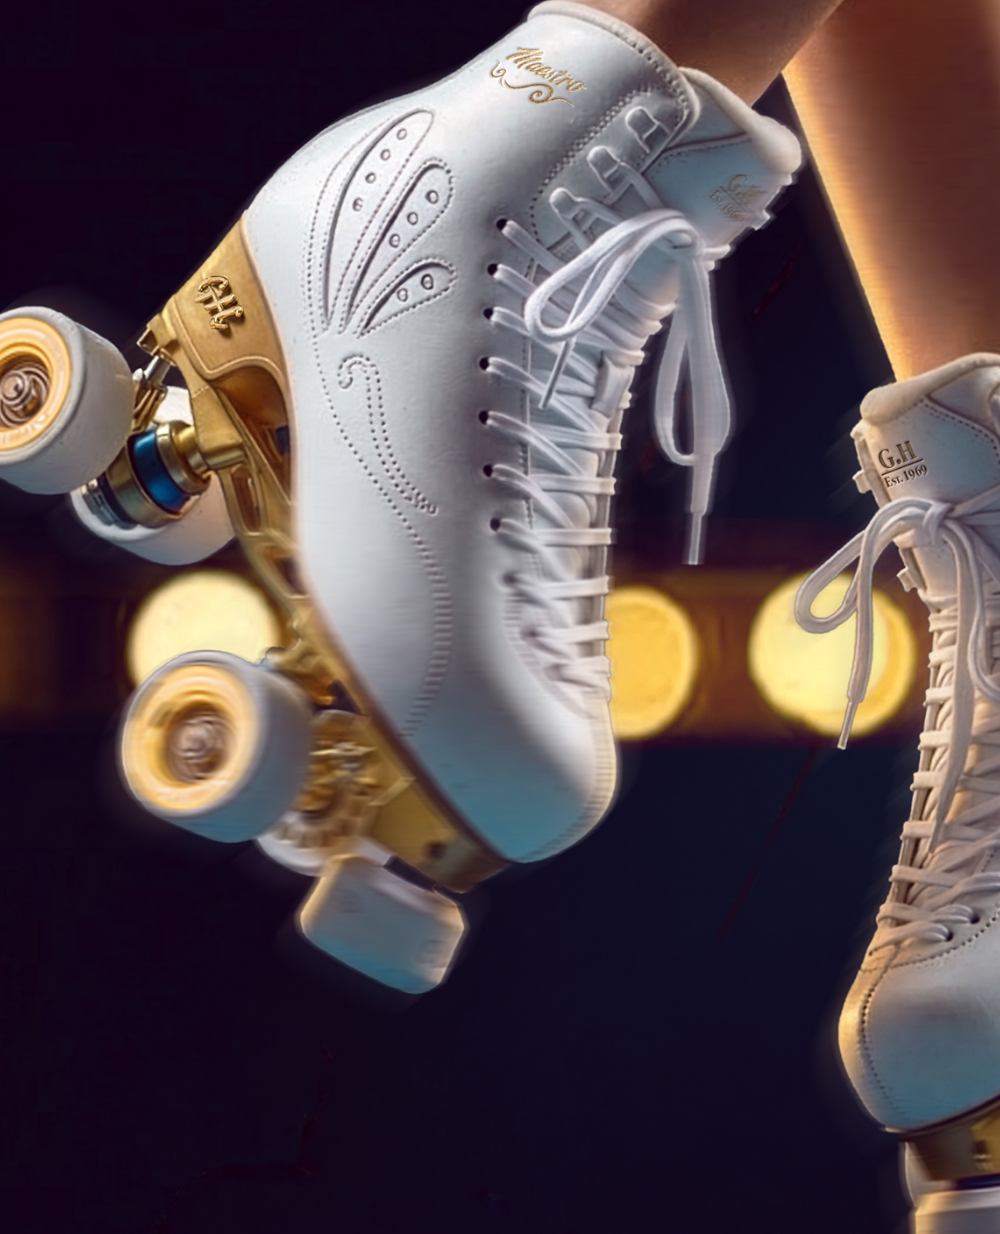
Proper skate lacing is the critical foundation for every stable movement. Explore proven techniques that dramatically affect performance, comfort, and control.
Why Lacing Matters
Proper boot lacing significantly impacts performance, influencing comfort, safety, and longevity. Here are some key reasons why it matters:
- Improved Control : Proper lacing holds your foot in the correct position, which reduces unnecessary movement.
- Enhanced Comfort : Good lacing minimizes friction and movement inside the shoe, contributing to a more comfortable fit.
- Increased Mobility : Lacing works with the shoe’s tongue, allowing your foot to move freely while being well-supported.
- Greater Durability : Proper lacing helps distribute weight and pressure across the shoe, aiding overall longevity.
Shoe lacing techniques can be divided into two main categories
- Instep Lacing: This method focuses on securing the Instep area for better support.
- Wrapping Lacing: This technique involves wrapping the lace around the loops or hooks to achieve a tighter and more secure fit.
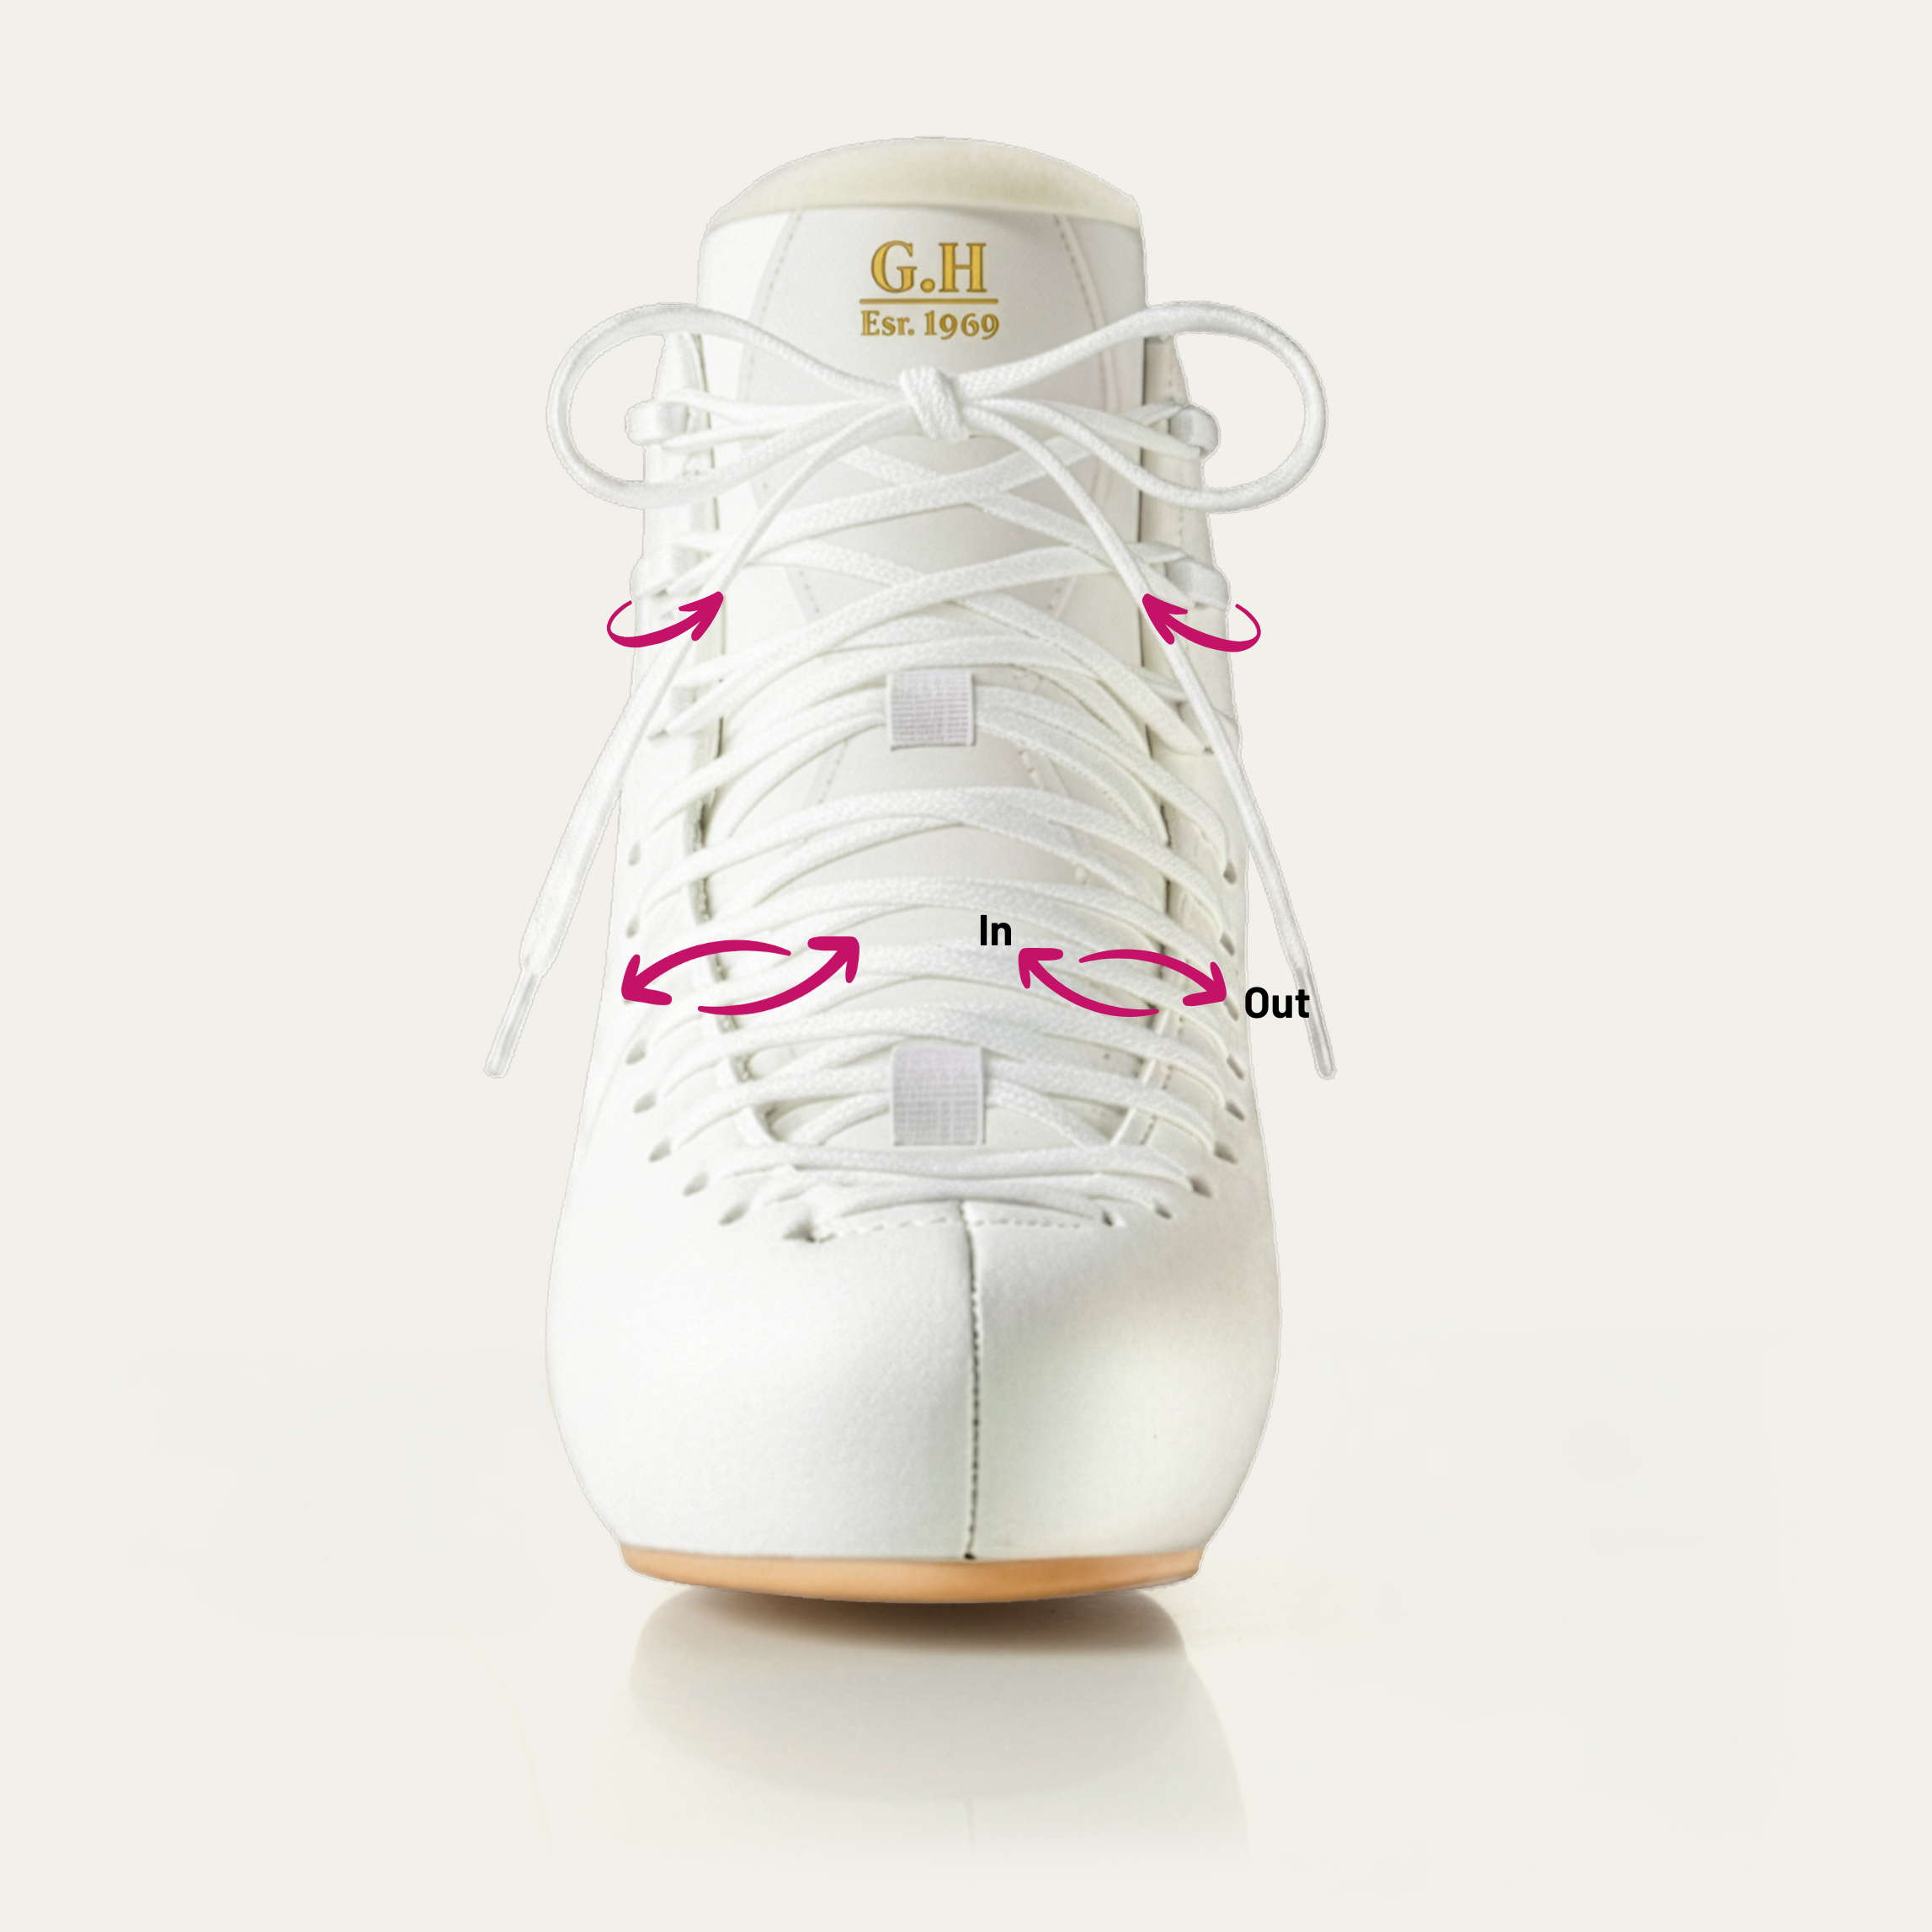
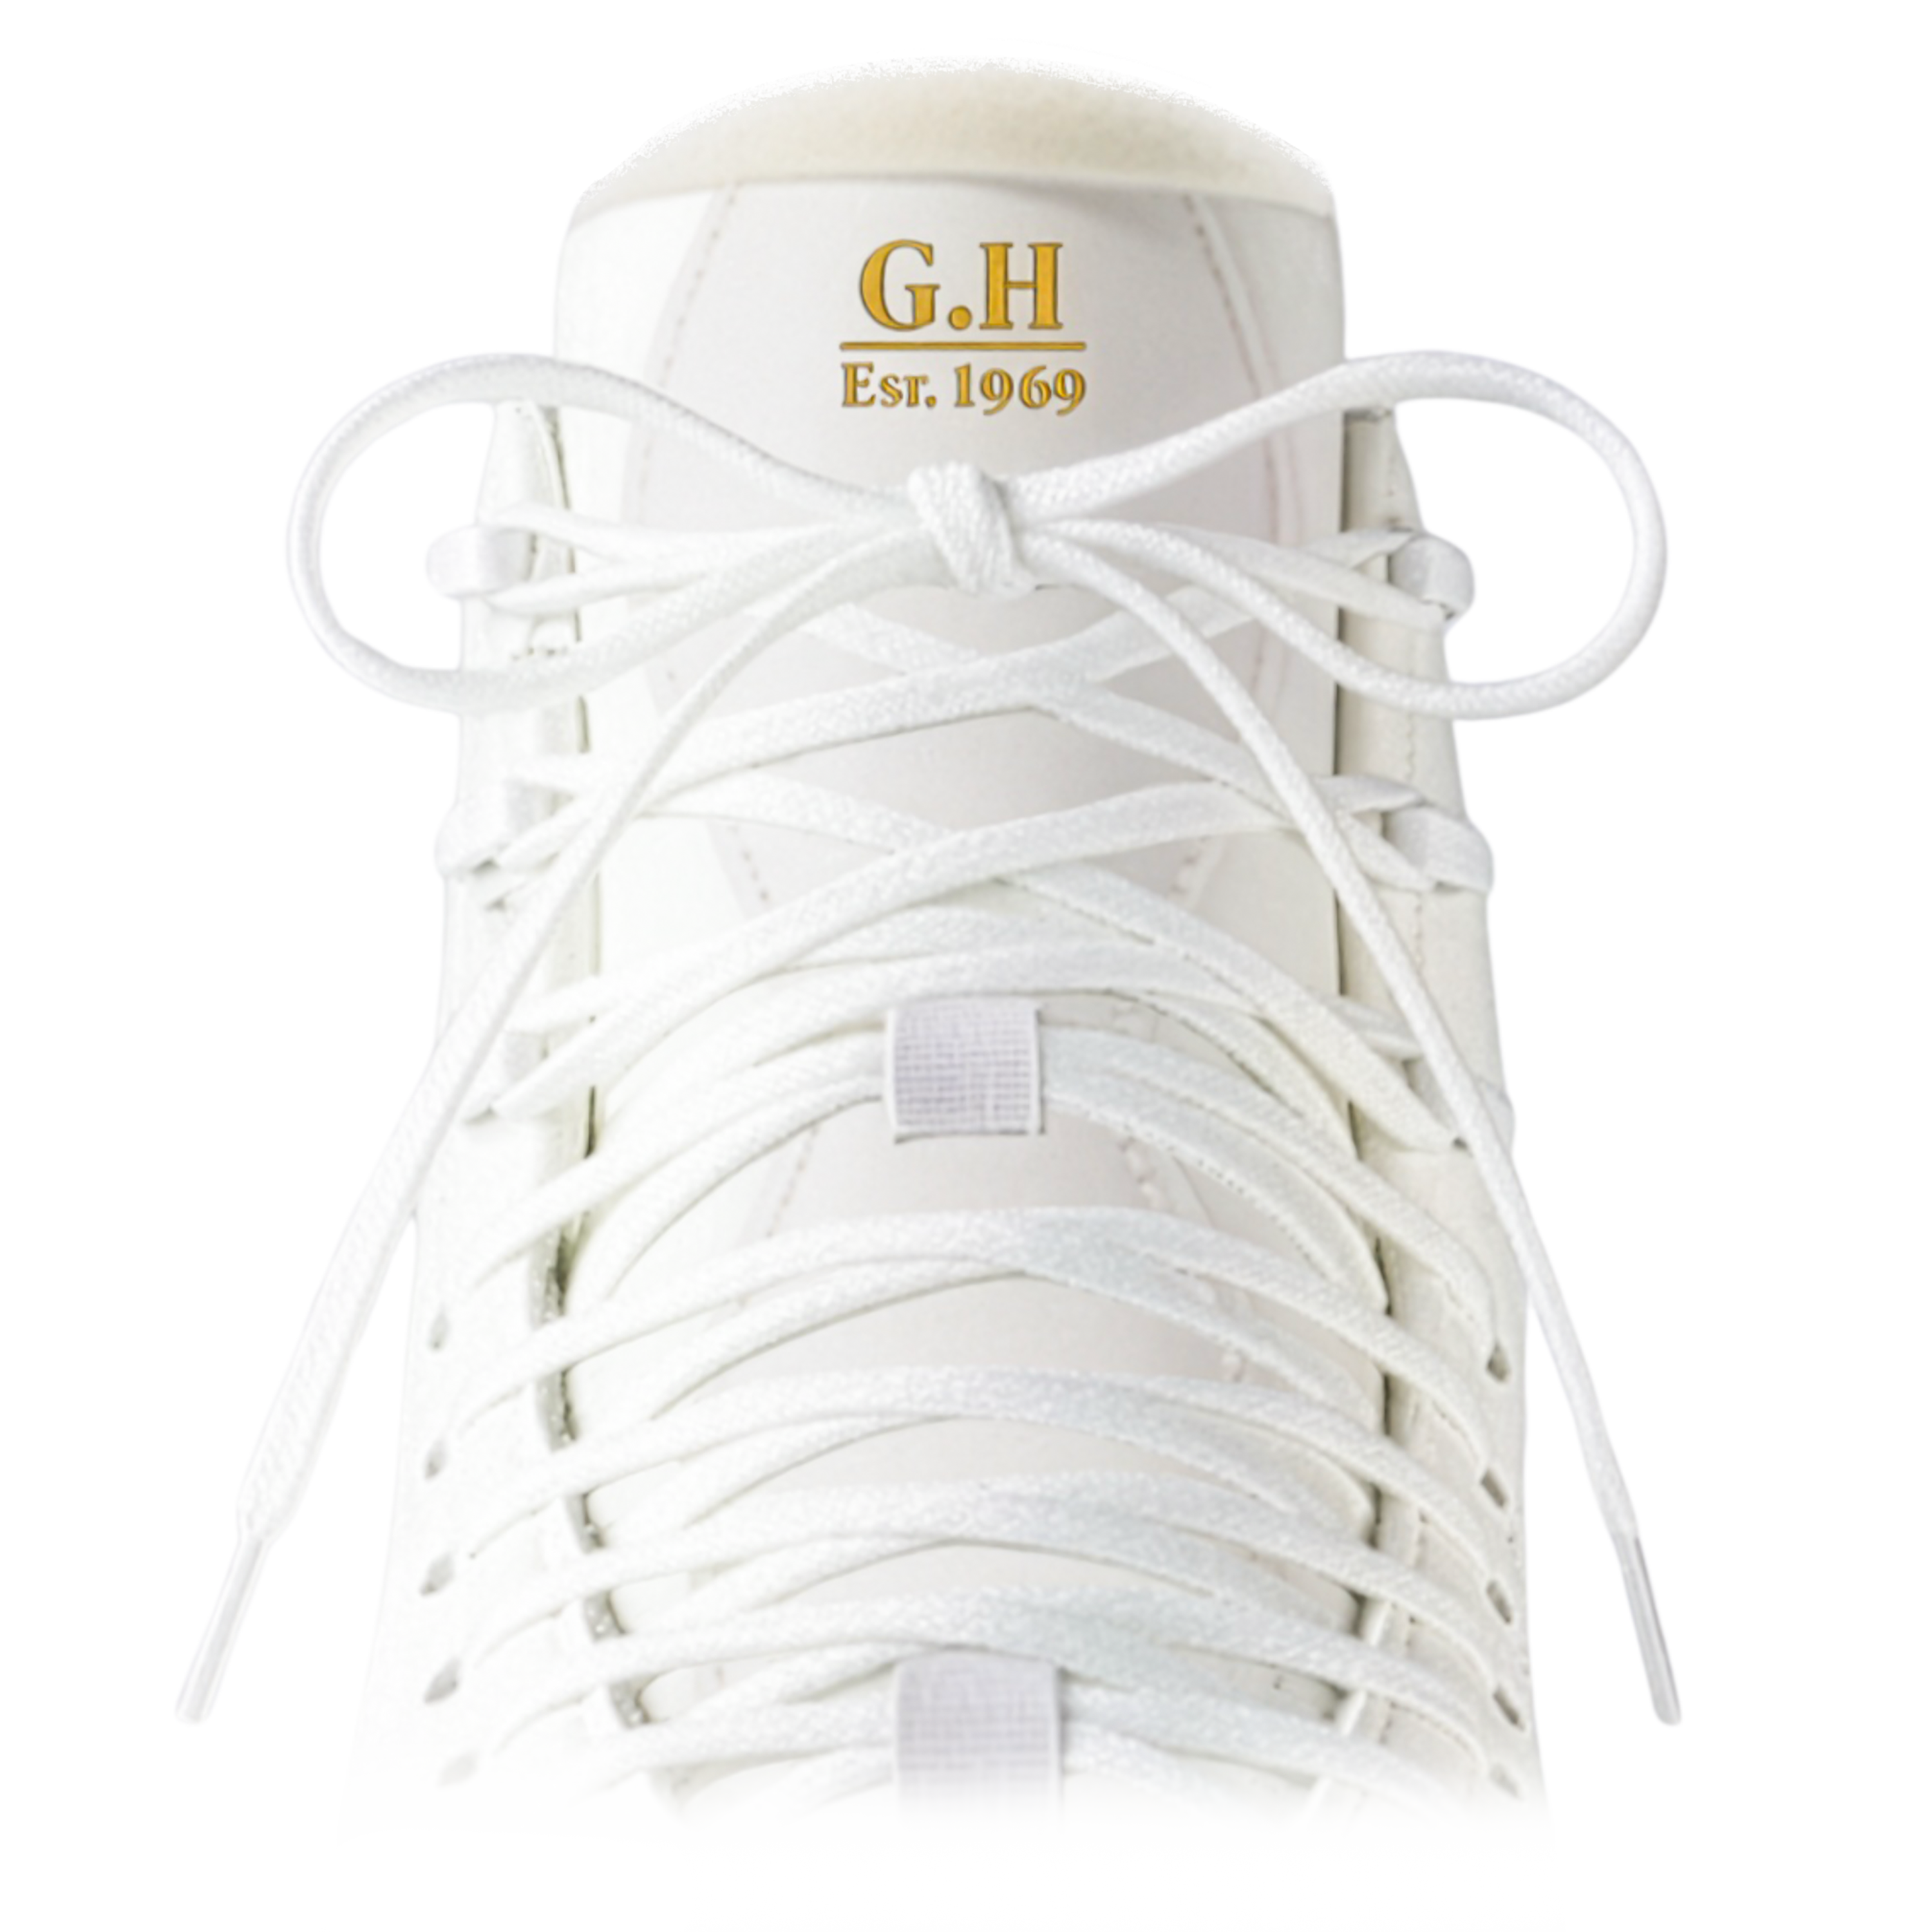
Instep Lacing
OUT ➔ IN
(Our Staff Pre-Lacing in this way already when you get skates)
How to lace:
- Start at the toe of the boot and lace from the outside to the inside of the eyelet (OUT ➔ IN).
- As you lace, slowly pull the laces out to the side and down to secure them.
- While it may feel strange initially, with continued use, it will become second nature.
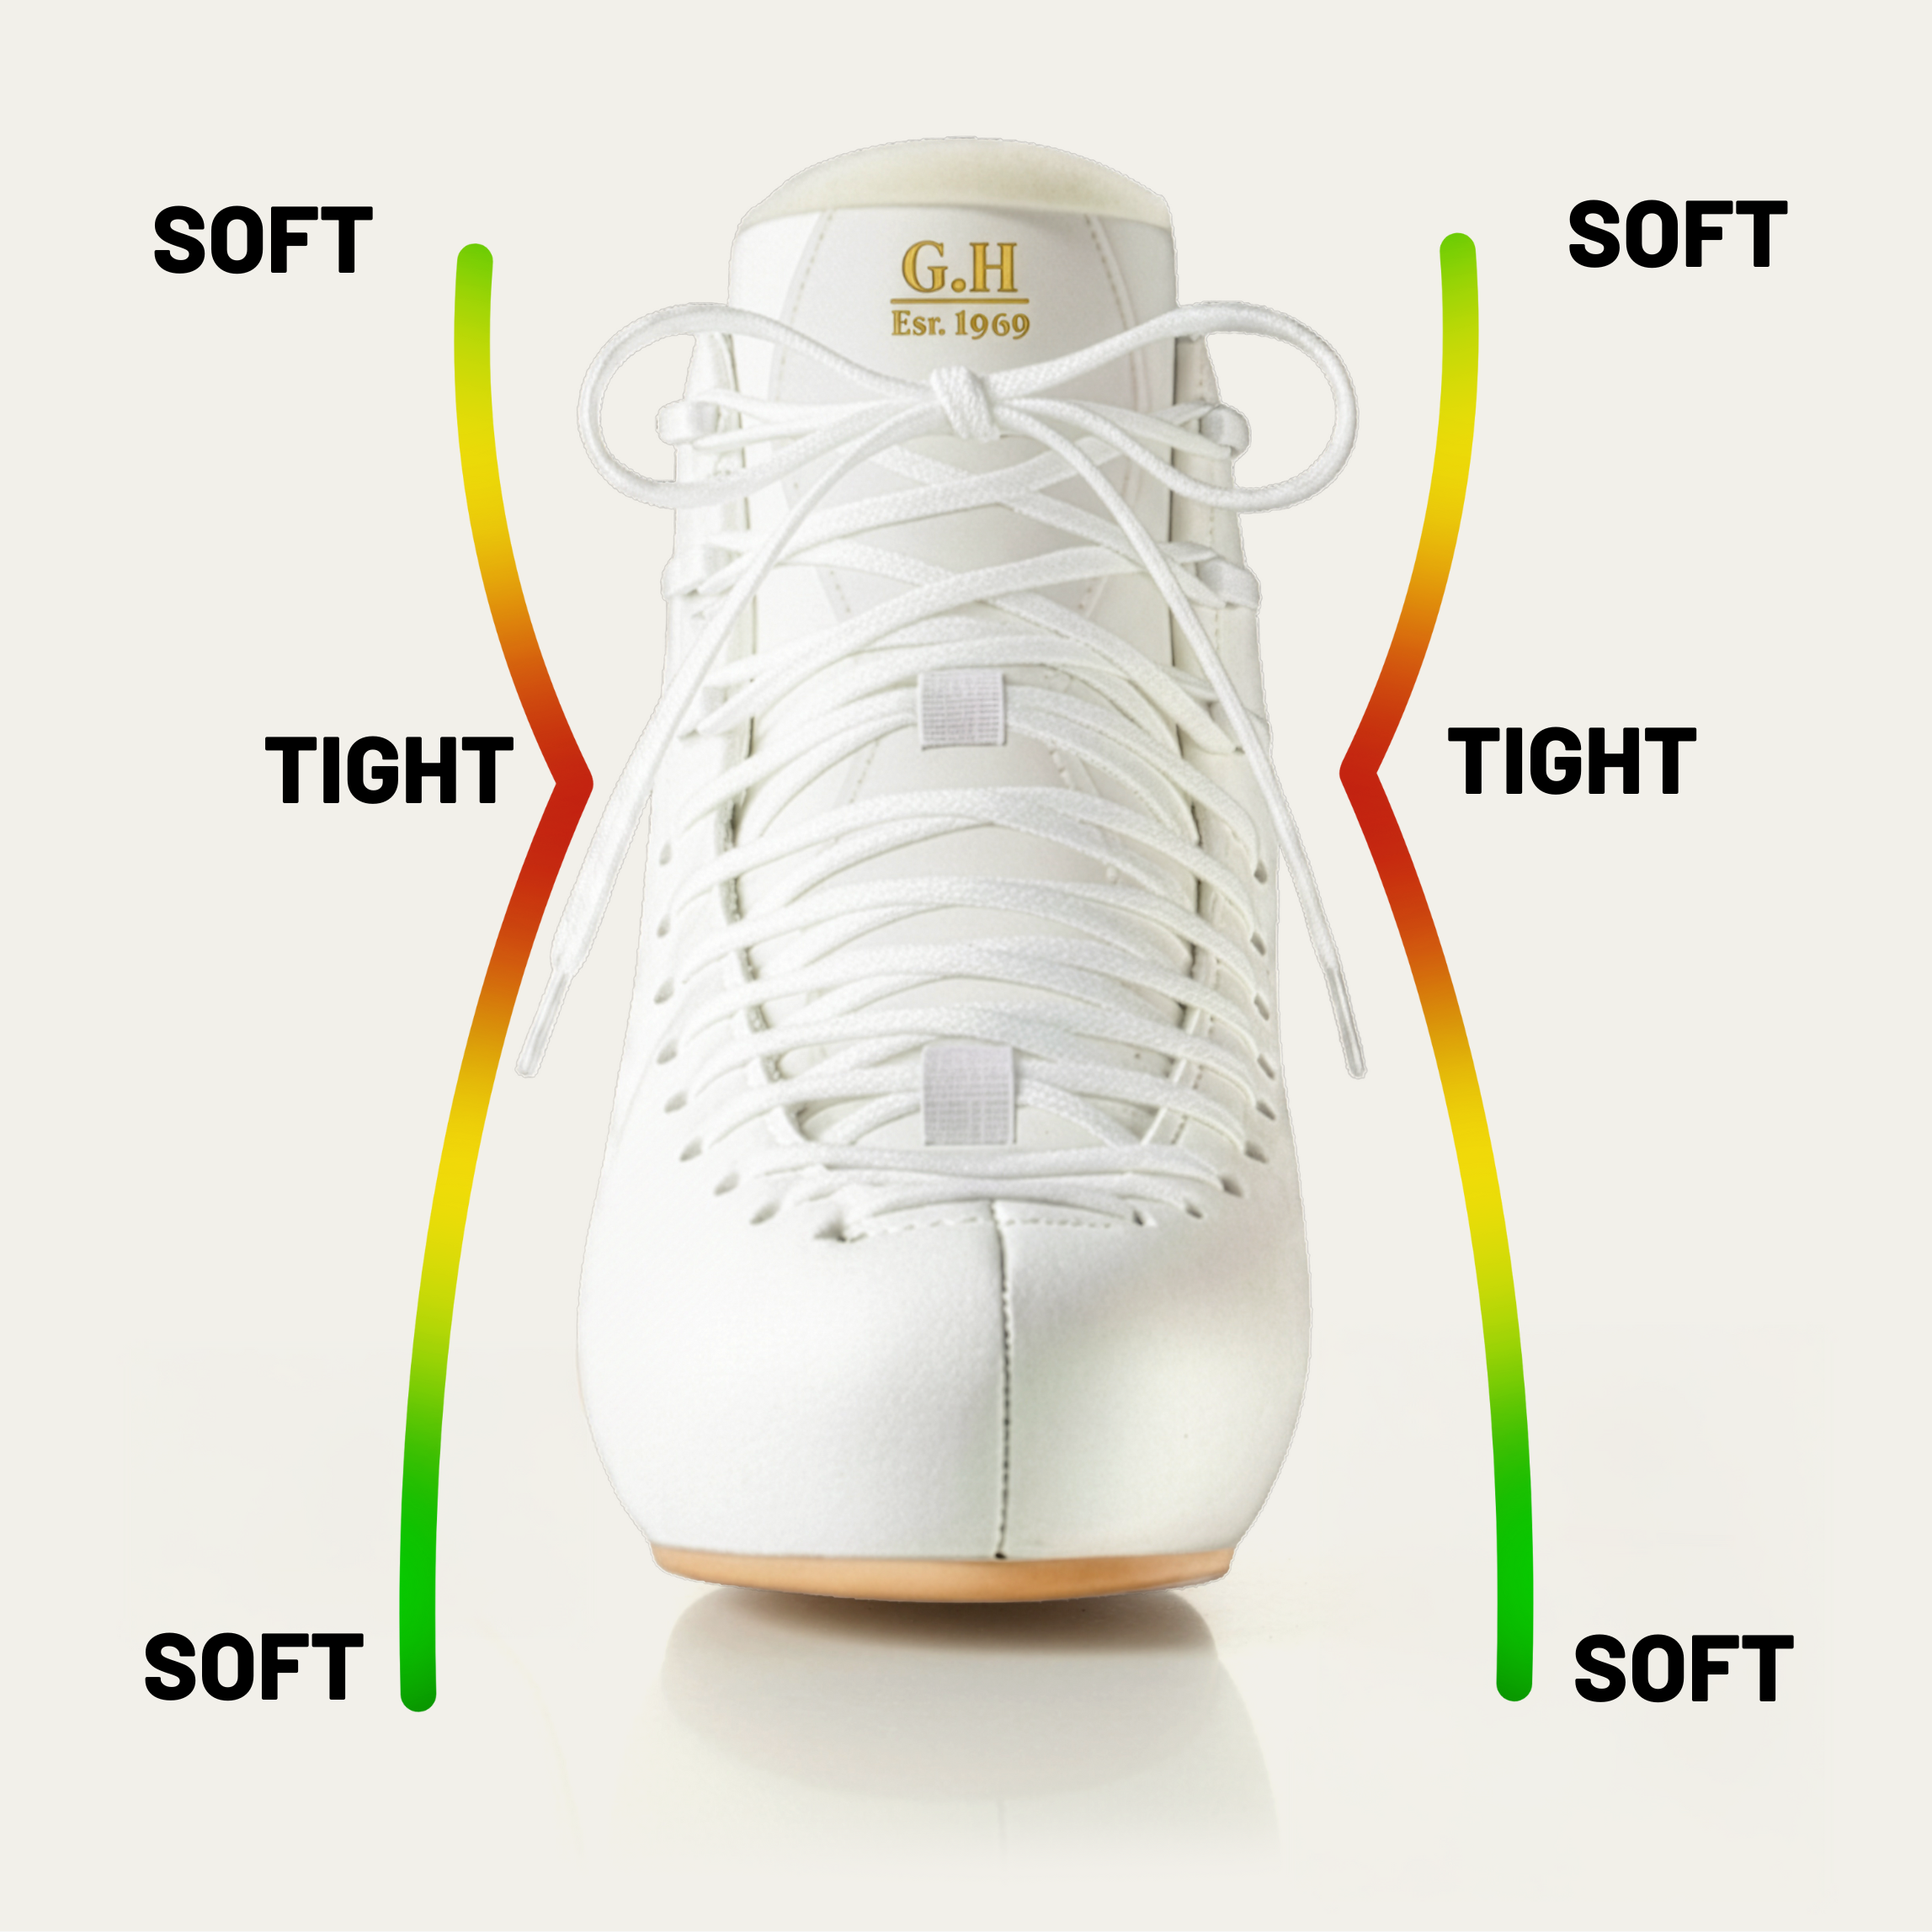
- SOFT across the top two hooks to keep the movement range. You should be able to put two fingers between the tongue and the front of your leg
- TIGHT across the top three eyelets and the first hook
- SOFT across the toes to allow for the minimal movement required
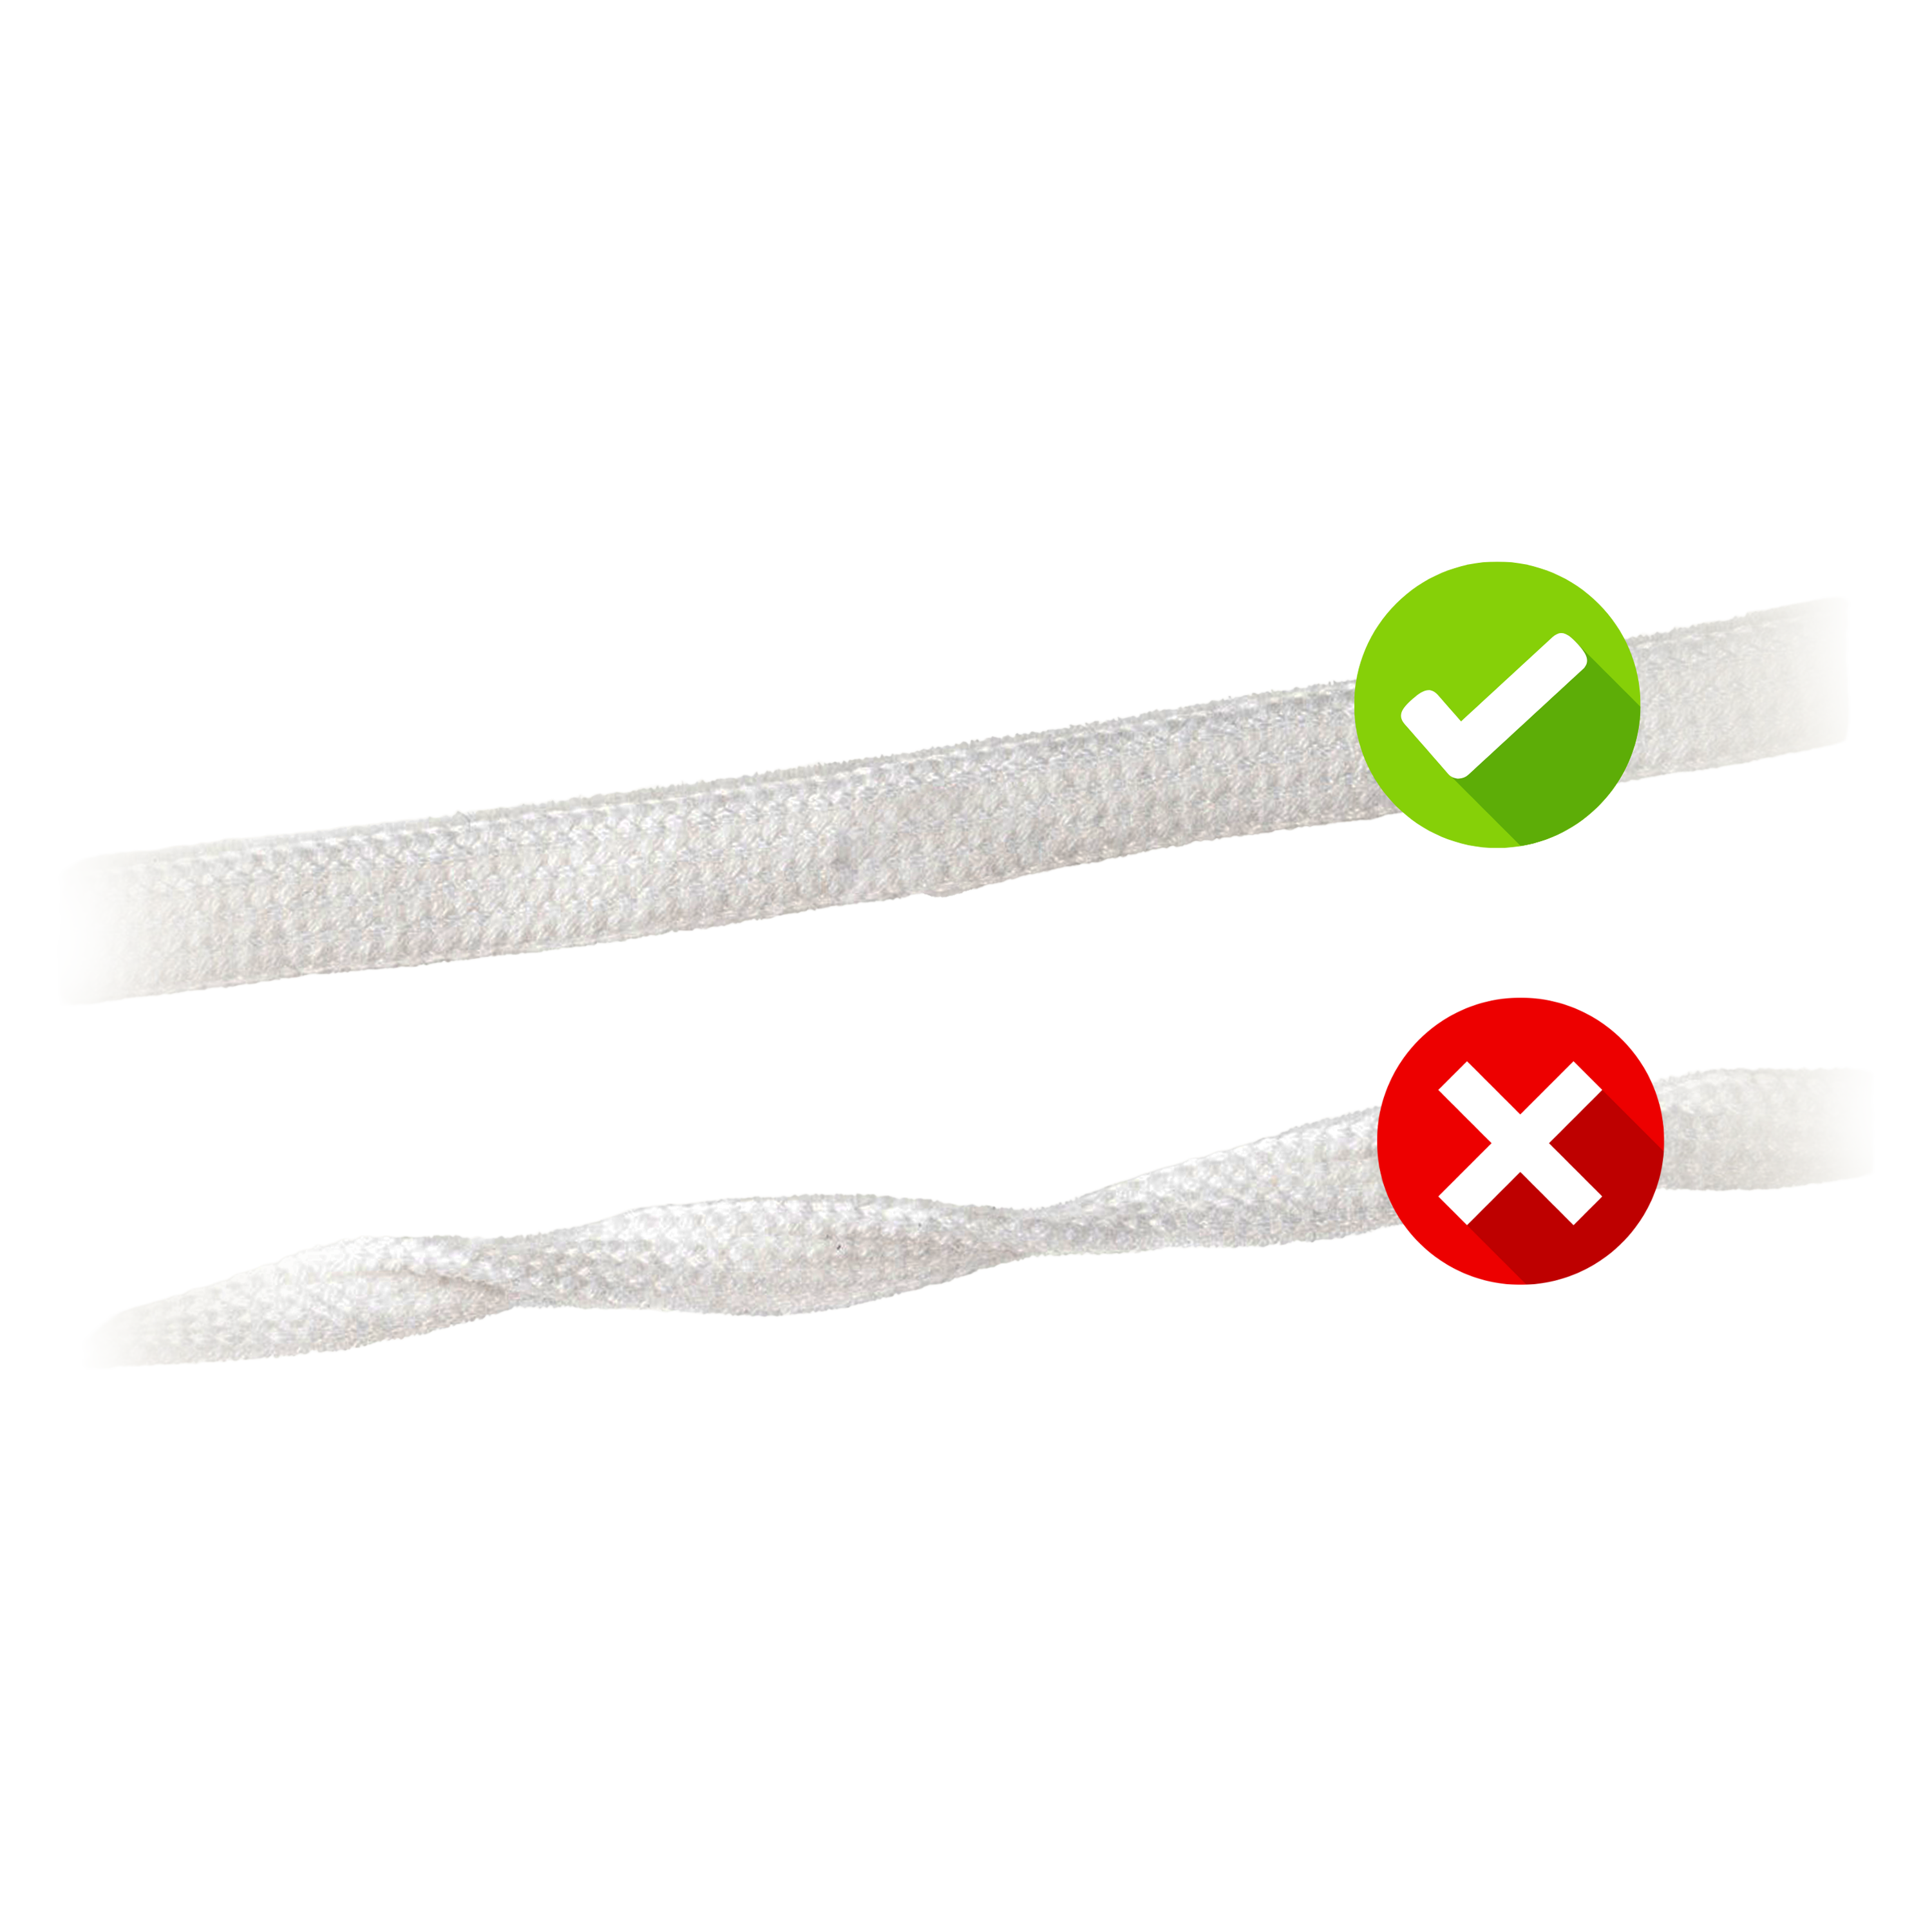
Warning: Keep laces flat, not twisted
When lacing your shoes, make sure that the laces are flat and not twisted or tangled. Twisting the laces can:
- Make the laces slippery and not fit properly.
- The laces tend to stretch or become loose during use.
- Increase the chances of the laces wearing out or breaking faster than usual.
Keeping the laces flat throughout the laces will help extend the life of the shoe and provide more stability when wearing it.
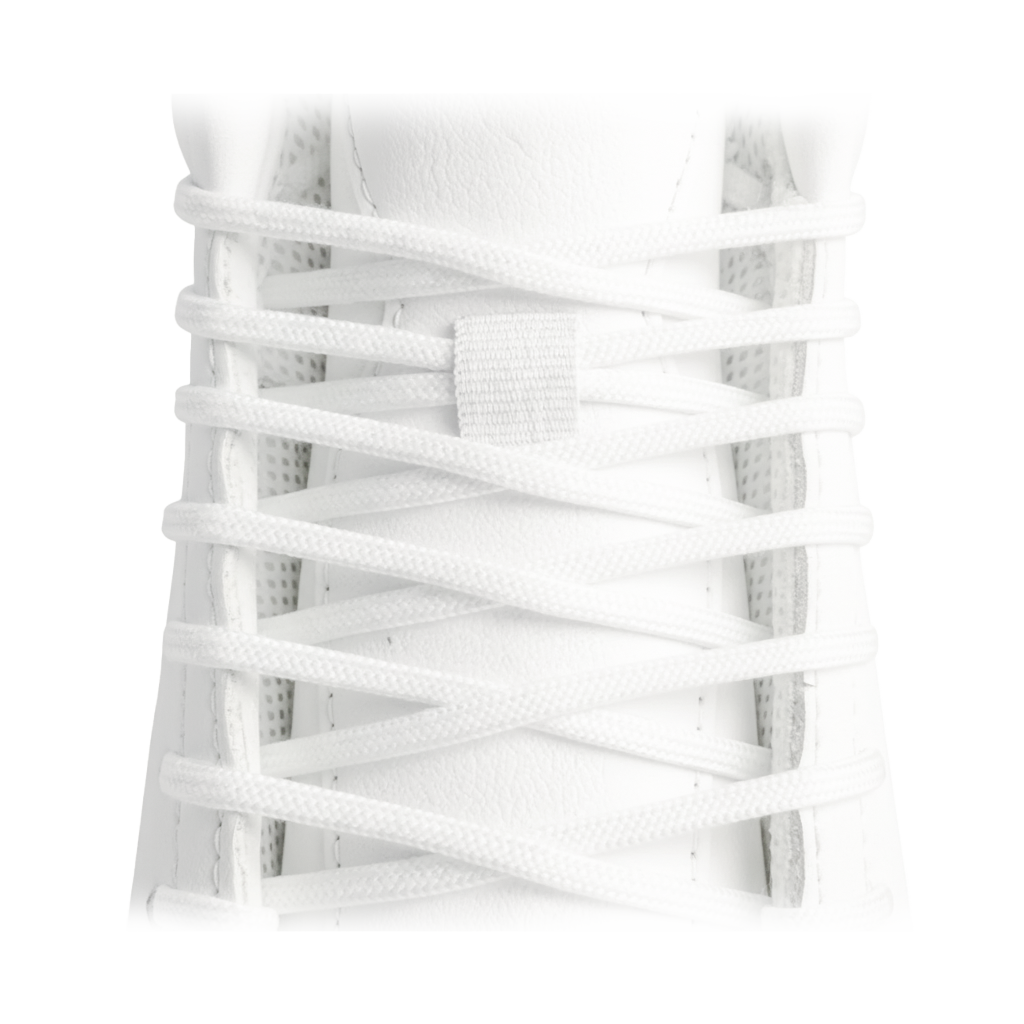
Using Lace Tabs and Positioning Lace Crosses Properly
It is important to use the lace tab in conjunction with the proper lace cross to ensure a snug fit and comfort and to prevent the tongue from slipping out of position.
The lace tab is a small loop or lock on the boot's tongue. Its function is to hold the tongue in place. The lace is threaded through the lace tab during lacing.
Proper usage principles:
- Thread the lace through the lace tab to hold the tongue in place.
- Align the lace cross point in the center of the tongue at all levels.
Benefits of using lace tabs with centre cross:
- The tongue of the shoe is in the correct position and does not slip while moving.
Increases tightness and balance. - The lace distributes pressure evenly across the instep.
- Increases the durability of the lace and reduces the chances of loosening or premature wear.

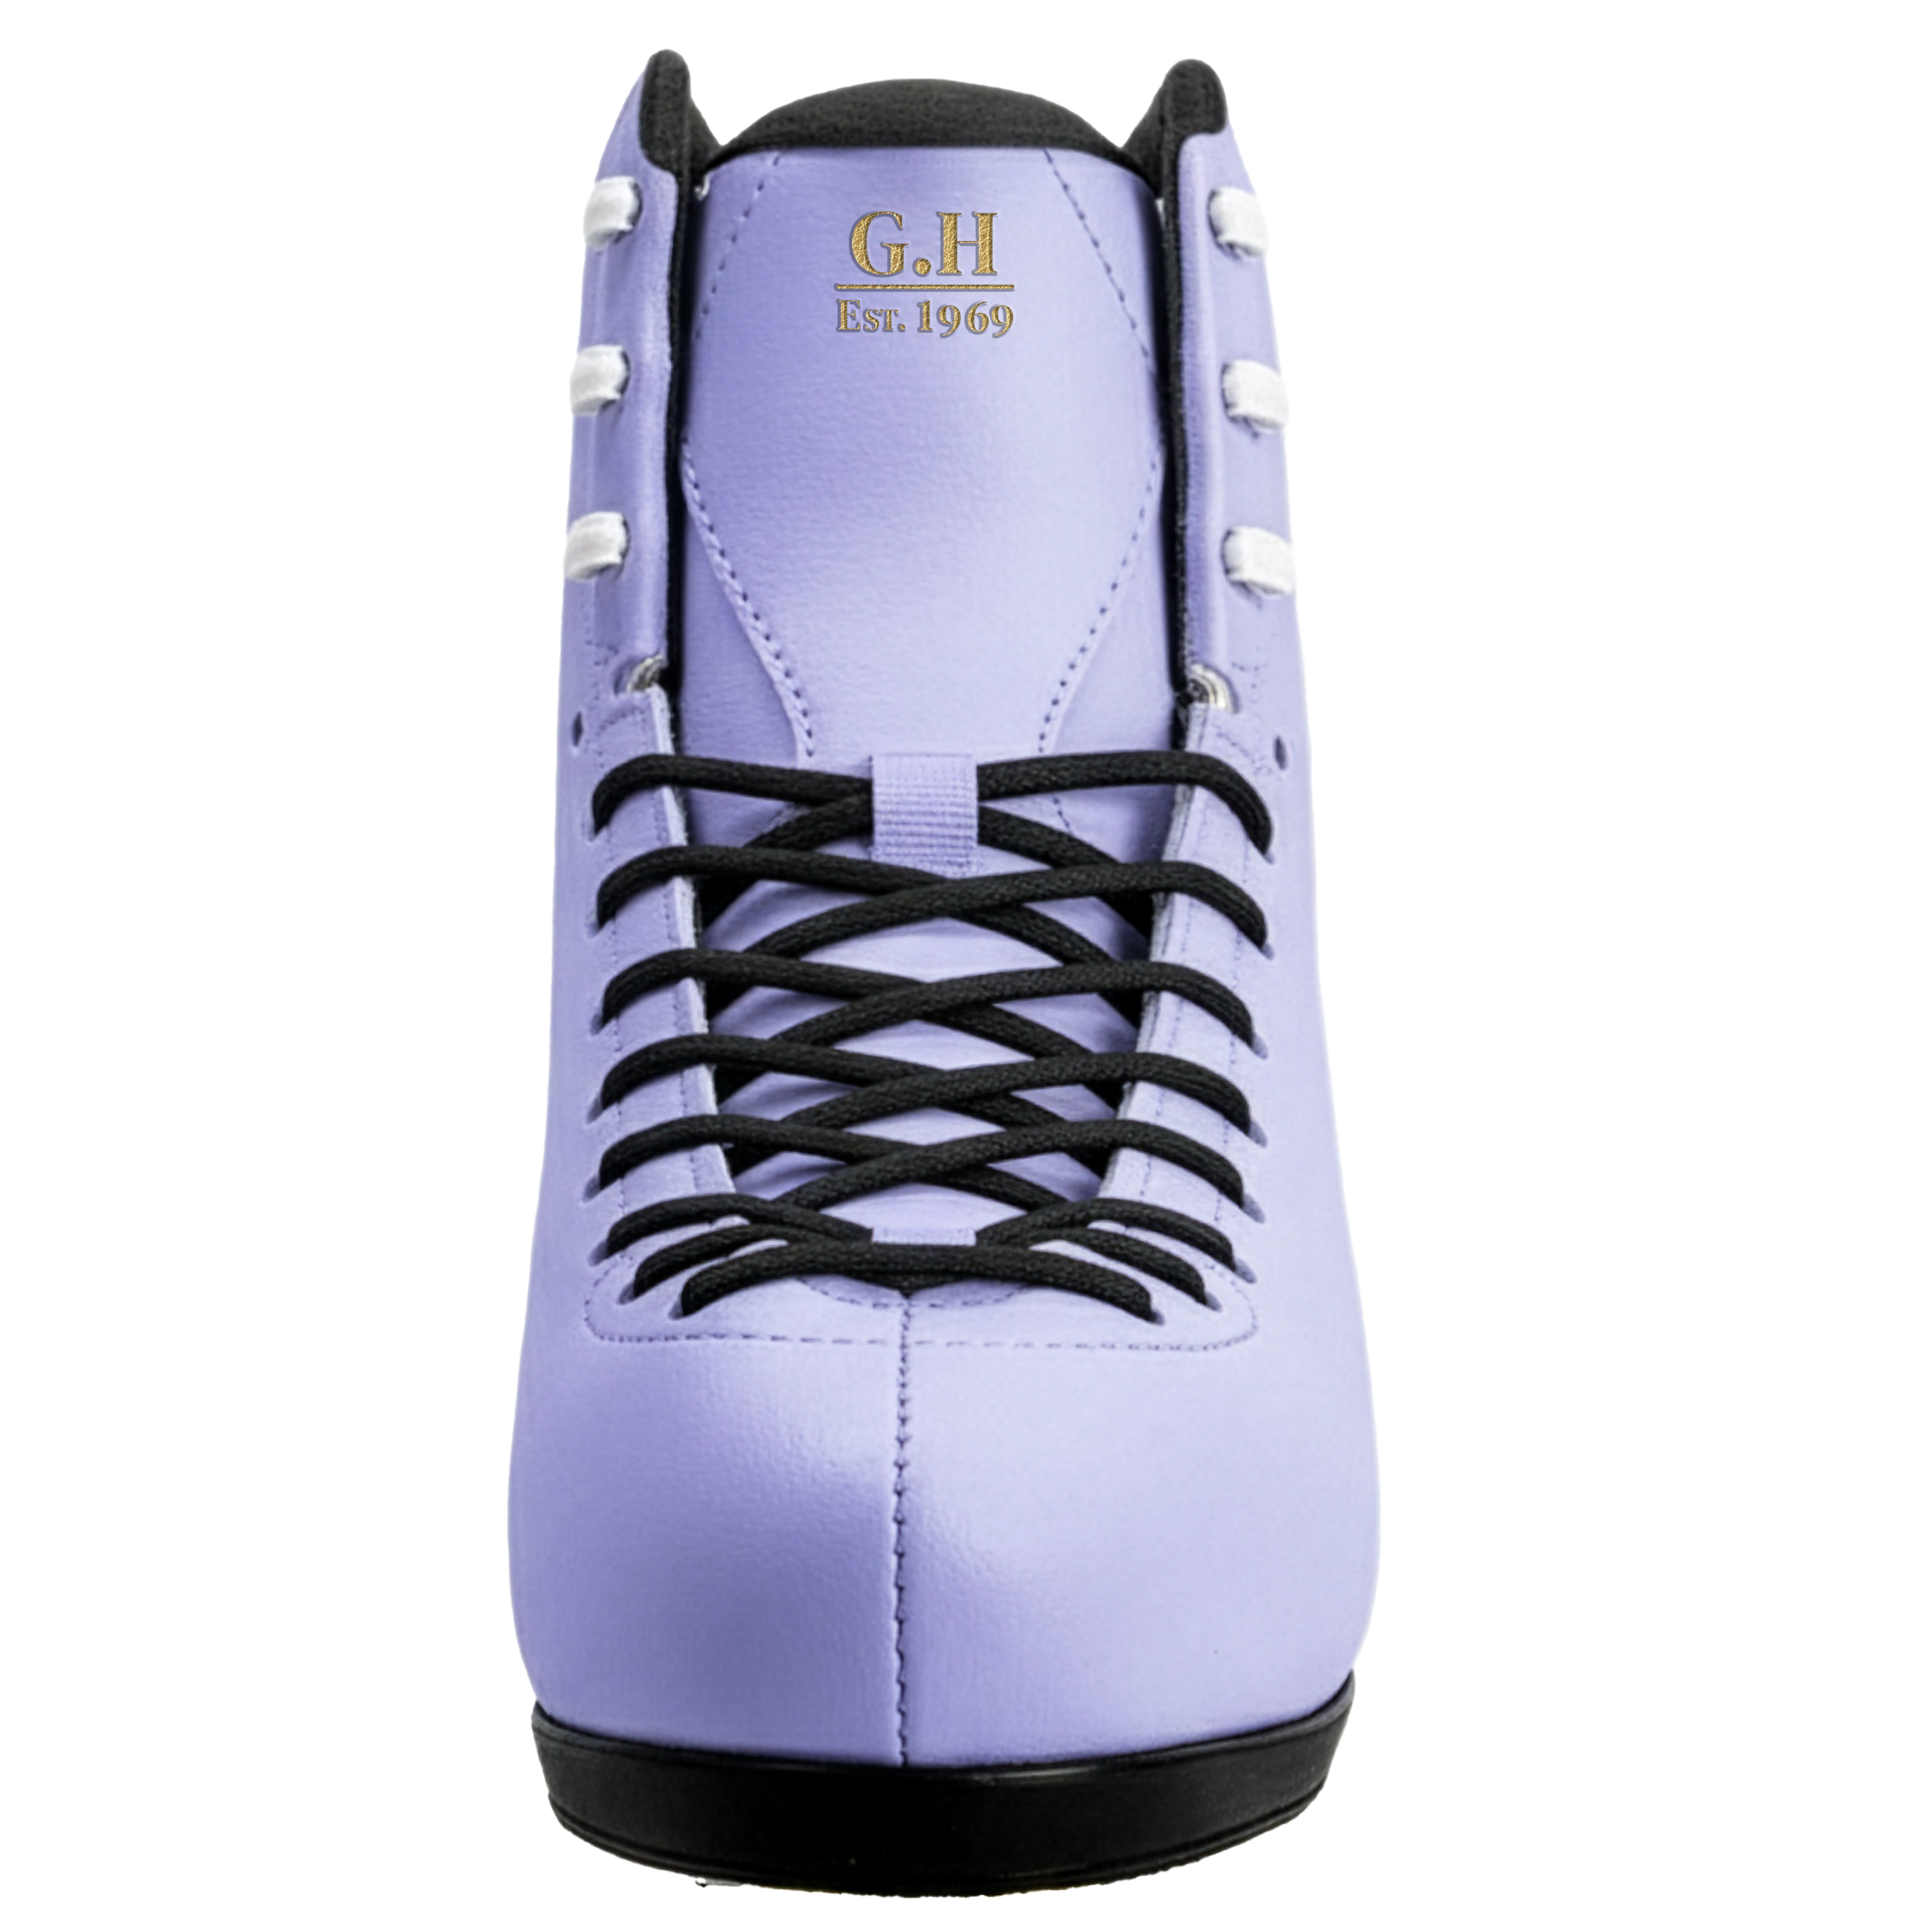
All GH Skates boots are also designed with a second lace tab at the bottom of the tongue, essential for increasing comfort while wearing and moving.
The function of the lower lace tab:
- Prevents the tongue from rubbing against the toes, which may occur during skating, especially in poses that require forceful toe-toeing.
- Enhances the stability of the tongue by working with the laces to keep the tongue in the correct position throughout use.
Increases comfort and reduces pressure on the forefoot, allowing you to skate longer without pain or irritation
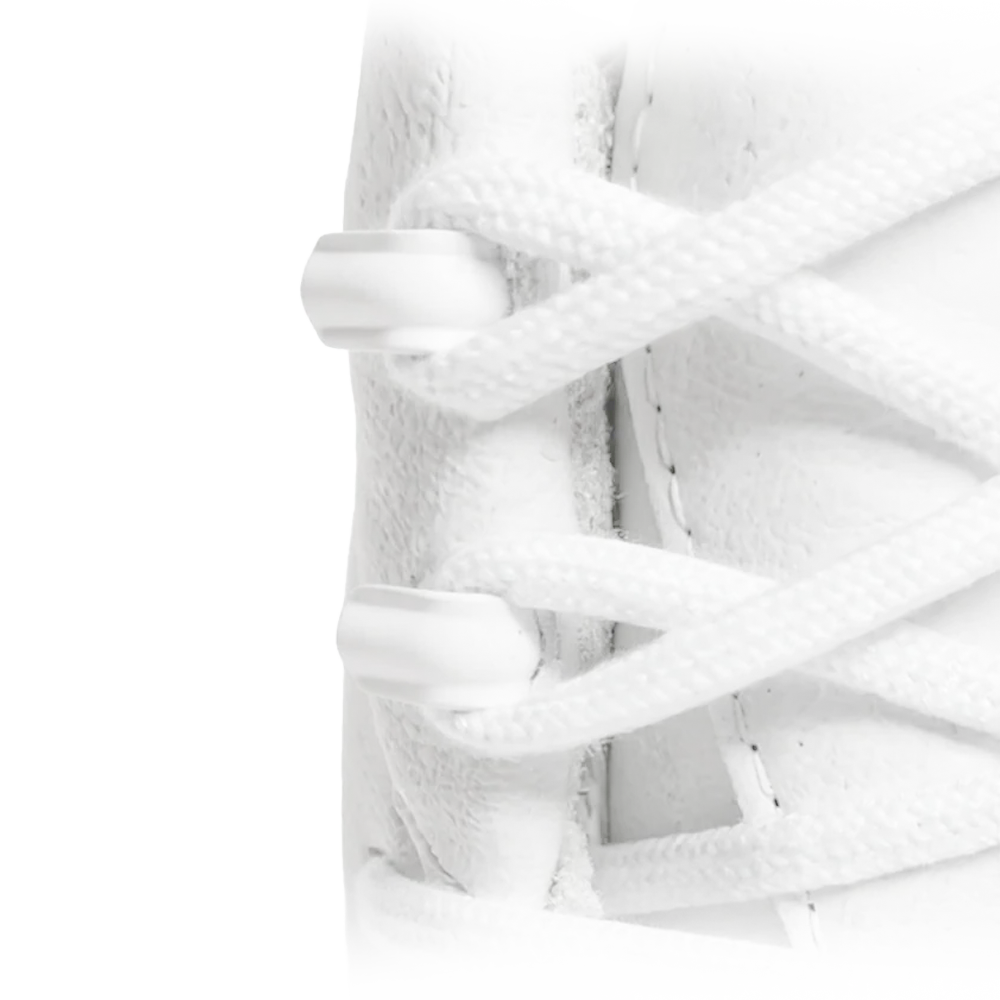
Wrapping Lacing
Why GH Skates recommends 360° Wrap lacing?
The 360° Wrap lacing technique increases the tightness and stability of the skates by wrapping the laces around the hooks from the top before crossing them as usual. This technique not only locks the foot in place but also enhances the shoe's support for pressure with every movement.
- Once the midfoot laces are finished,
- Pull the laces up to the front of the tongue of the shoe.
- Wrap the laces around the hooks from the top, not hooking them straight in.
- Cross the laces and pull them until they are snug. Repeat each level until reaching the top hook.
Advantages of this lacing
- More secure : The laces wrap around the hooks, providing a more secure grip on the foot than if hooked straight in.
- Enhances shoe structure : Pulling the laces from the top helps pull the shoe together, tight but not squeezing.
- Reduces pressure on the hooks : The hooks are not subjected to too much direct pressure, reducing the chances of damage.
- Smooth movement : The laces' “V” crossover allows the knee and ankle joints to function fully.
- Extends the shoe's life: The force is evenly distributed, not pressed on any one point
Adjust the “V” pattern for more flexibility.
Some Skater choose to start from the top hook down to the middle hook, which allows the knot to be in a lower position. This lacing arrangement allows more extension or compression to the ankle and knee, making it ideal for moves that require more propulsion or flexibility.
However, there are also different ways to lace a jam skate.
Lacing jam skates often involves techniques that maximize ankle flexibility for dance movements while still providing crucial foot security. Because jam skating typically involves low-cut or high-top skates laced to allow a wide range of motion, the methods can vary by personal preference and boot style.
Here are the key considerations and common techniques for lacing jam skates:
The Goal: Secure Foot, Flexible Ankle
For jam skating, you generally want your foot to be locked securely in the boot to prevent heel lift and maintain control, but you need the ankle area to be less restrictive than, say, for roller derby or artistic freestyle.
- Tight in the Midfoot: Lace tightly across the top of your foot (the instep) to hold your foot back and prevent your heel from lifting.
- Looser at the Top/Hooks (Optional but Common): Many jam skaters will intentionally leave the very top hooks unlaced or only loosely laced to allow maximum ankle flexion for low, dynamic moves. This provides more freedom of movement.
Summary for Jam Skates:
- Lace Tight from the toe up through the instep (mid-foot) to secure your heel.
- Use Heel Lock if your heel slips.
- Lace Loosely or Skip the very top hooks/eyelets for maximum ankle mobility (optional, based on preference).
- Consider Waxed Laces to help maintain tension.
Ultimately, the best lacing method is the one that keeps your foot secure and comfortable for your unique foot shape and skating style. You may need to experiment!
Unlacing The Boot
Why must you unlace completely?
- Preserve Boot Shape: Figure skate boots are stiff and designed to hold your foot firmly. Leaving the laces tight causes the boot to contract and change shape over time, which can reduce support and shorten its lifespan.
- Easy Removal: Yanking your foot out of a partially loosened boot can damage the back heel of the skate.
- Proper Drying: Loosening the laces all the way allows the tongue to be pulled forward and the boot to open up, which lets moisture escape and the inside material dry thoroughly. This is essential for hygiene and boot longevity.
Step-by-Step Guide to Unlacing
- Untie the Bow and Hooks: Untie the final knot and unwrap the laces from the top hooks completely.
- Loosen the Eyelets: Starting from the top, work your way down. Pull the crossed laces outwards or upwards at each pair of eyelets (the holes) to loosen the tension.
- Continue All the Way Down: Keep loosening the laces, one pair of eyelets at a time, until the laces are slack all the way down to the toe box.
- Pull the Tongue: Gently pull the tongue forward to fully open the boot.
- Remove Your Foot: Your foot should now slide out of the boot with ease without any force.
Leave a comment
This site is protected by hCaptcha and the hCaptcha Privacy Policy and Terms of Service apply.